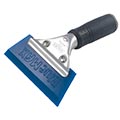
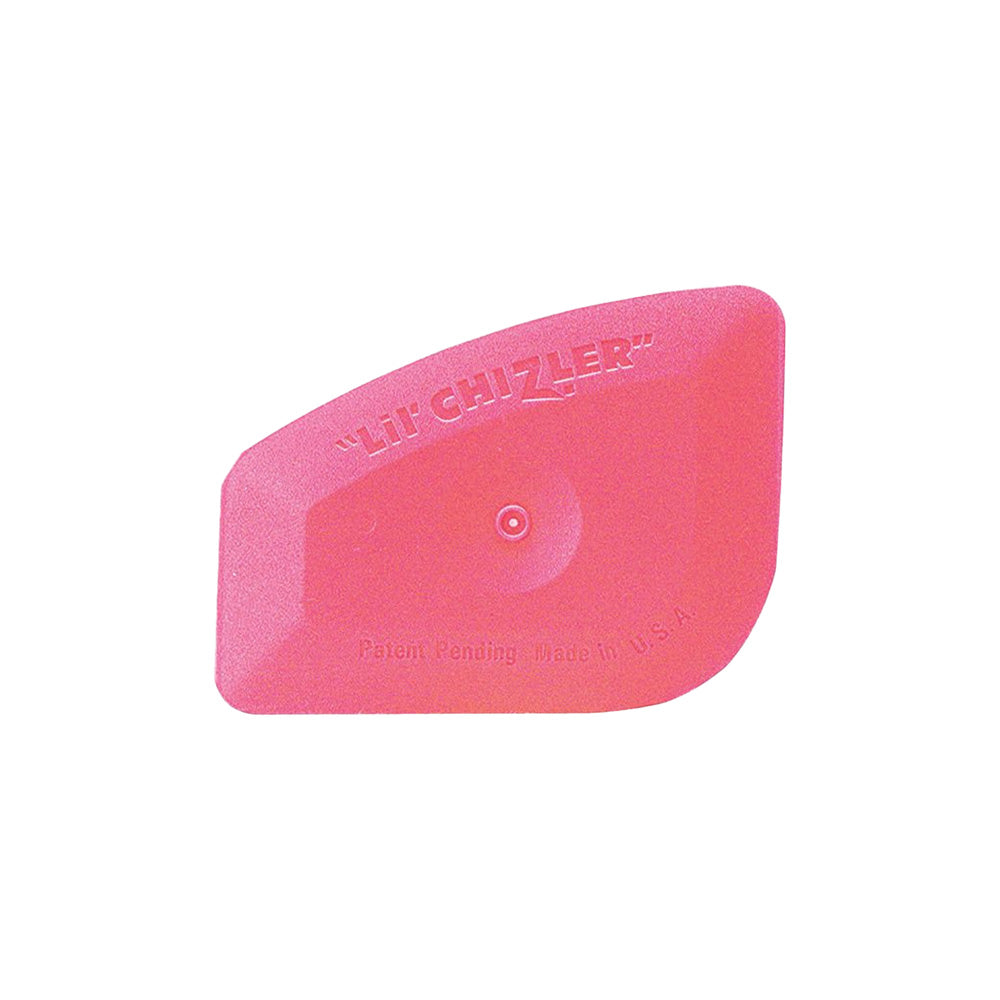
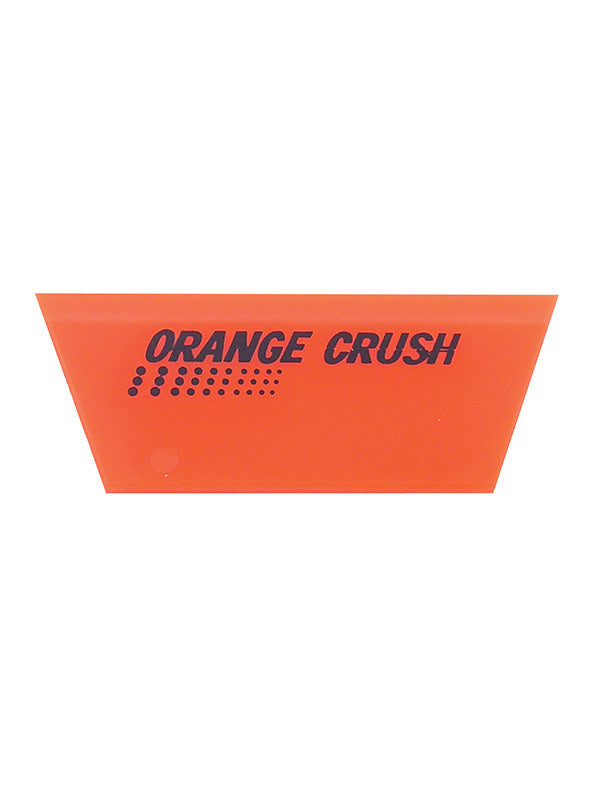
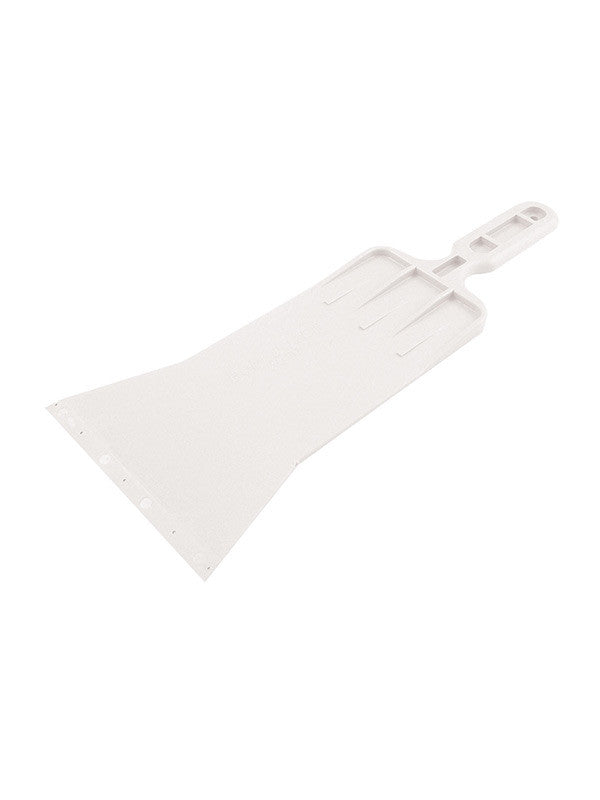
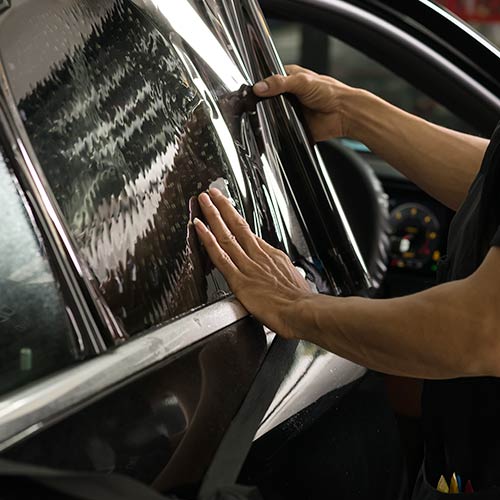
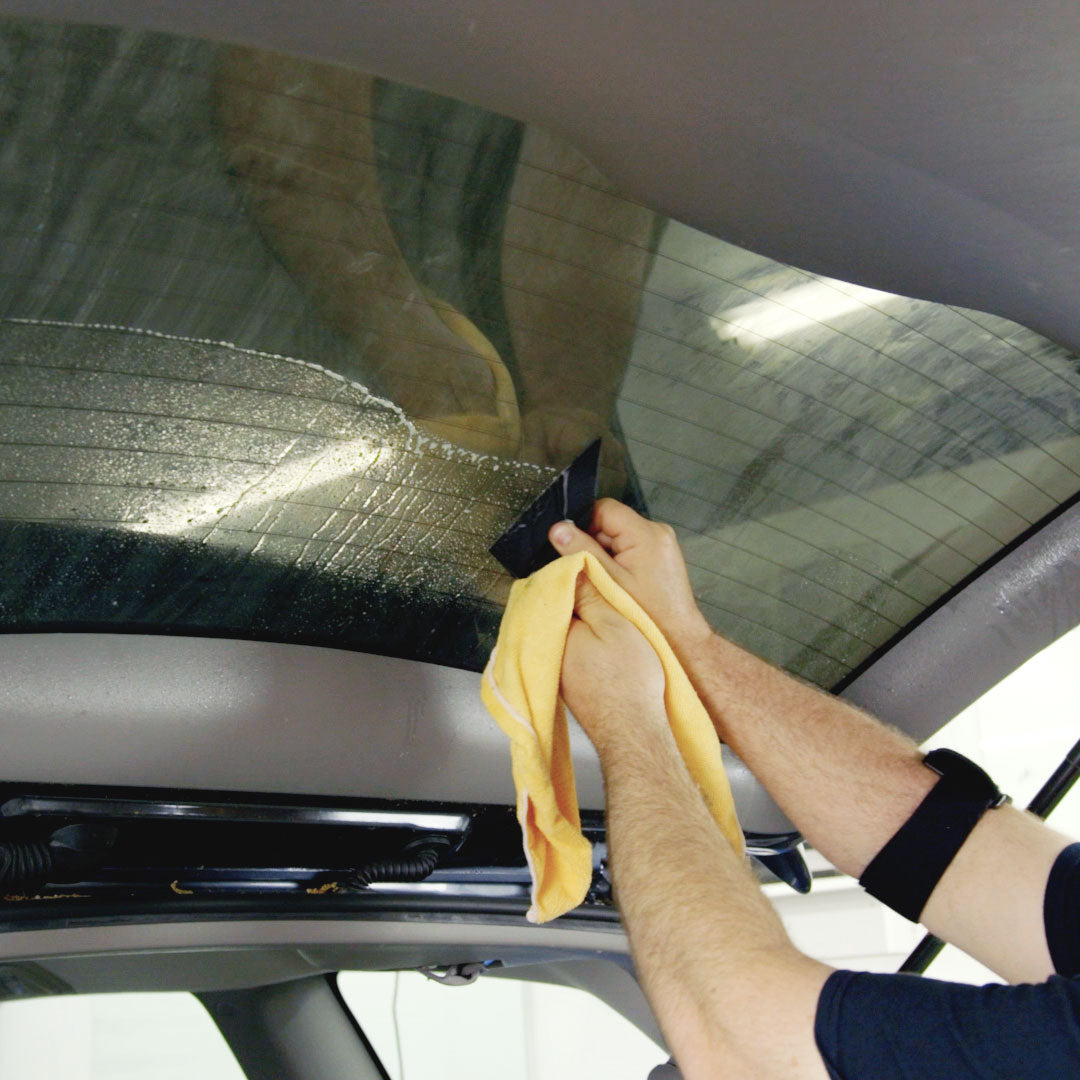
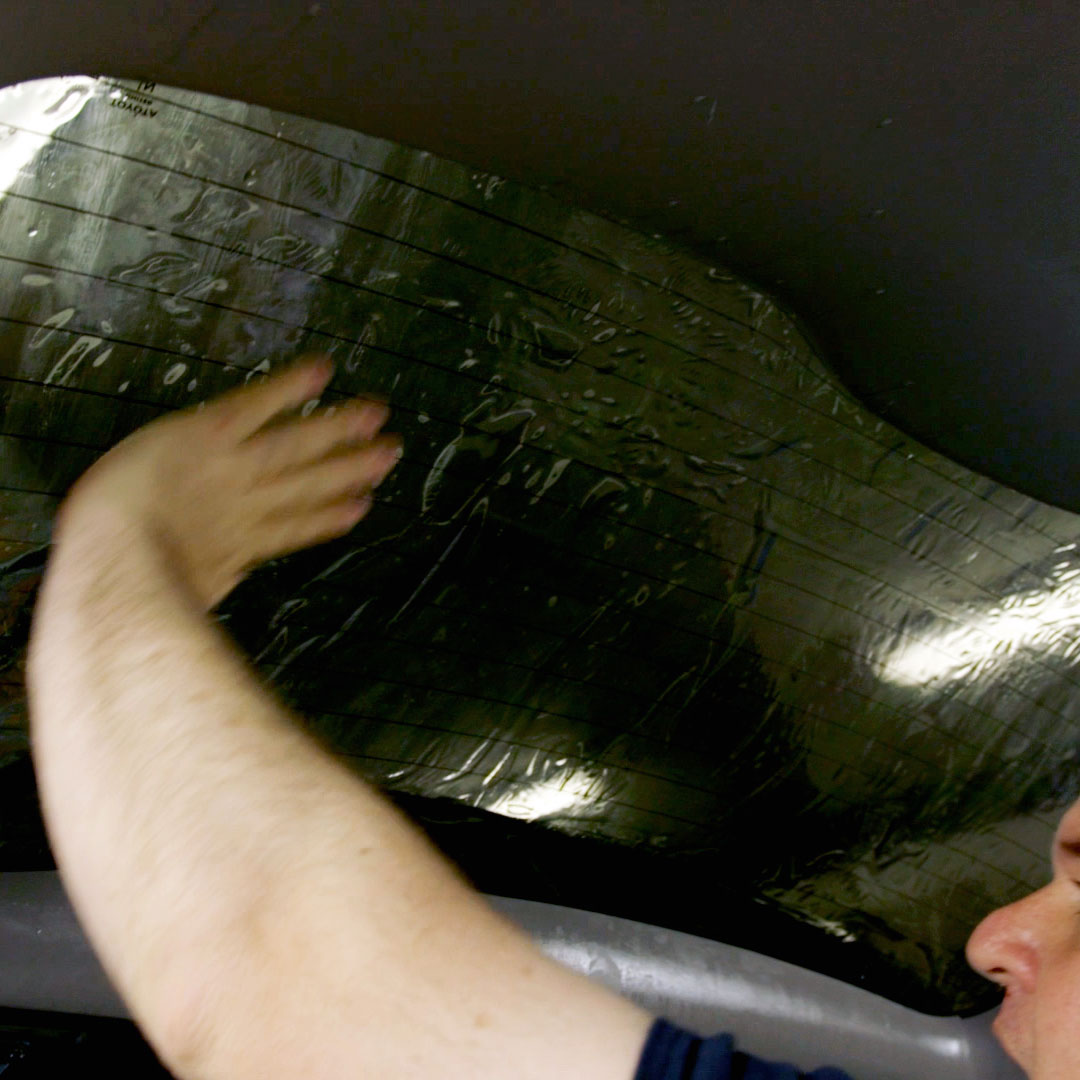
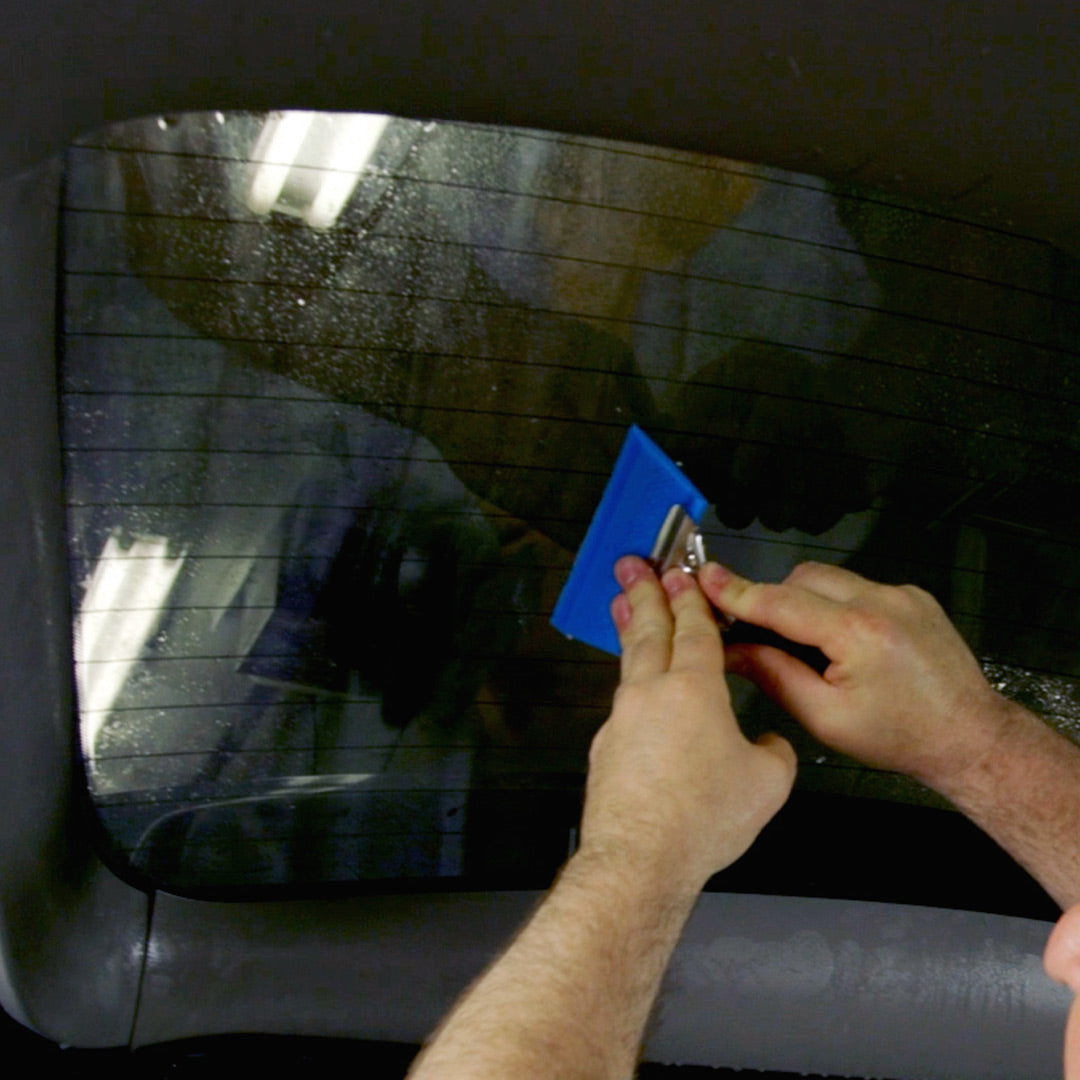
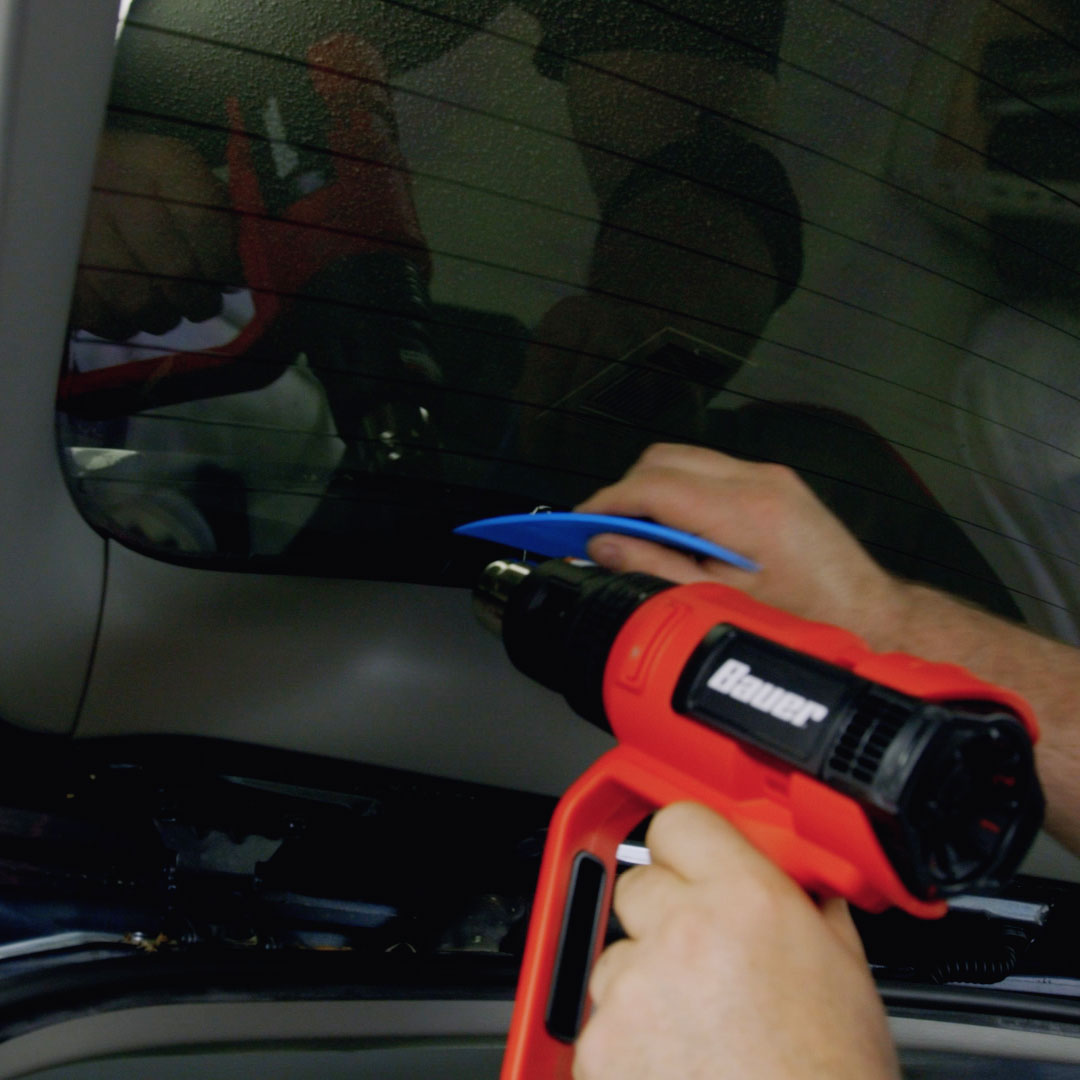
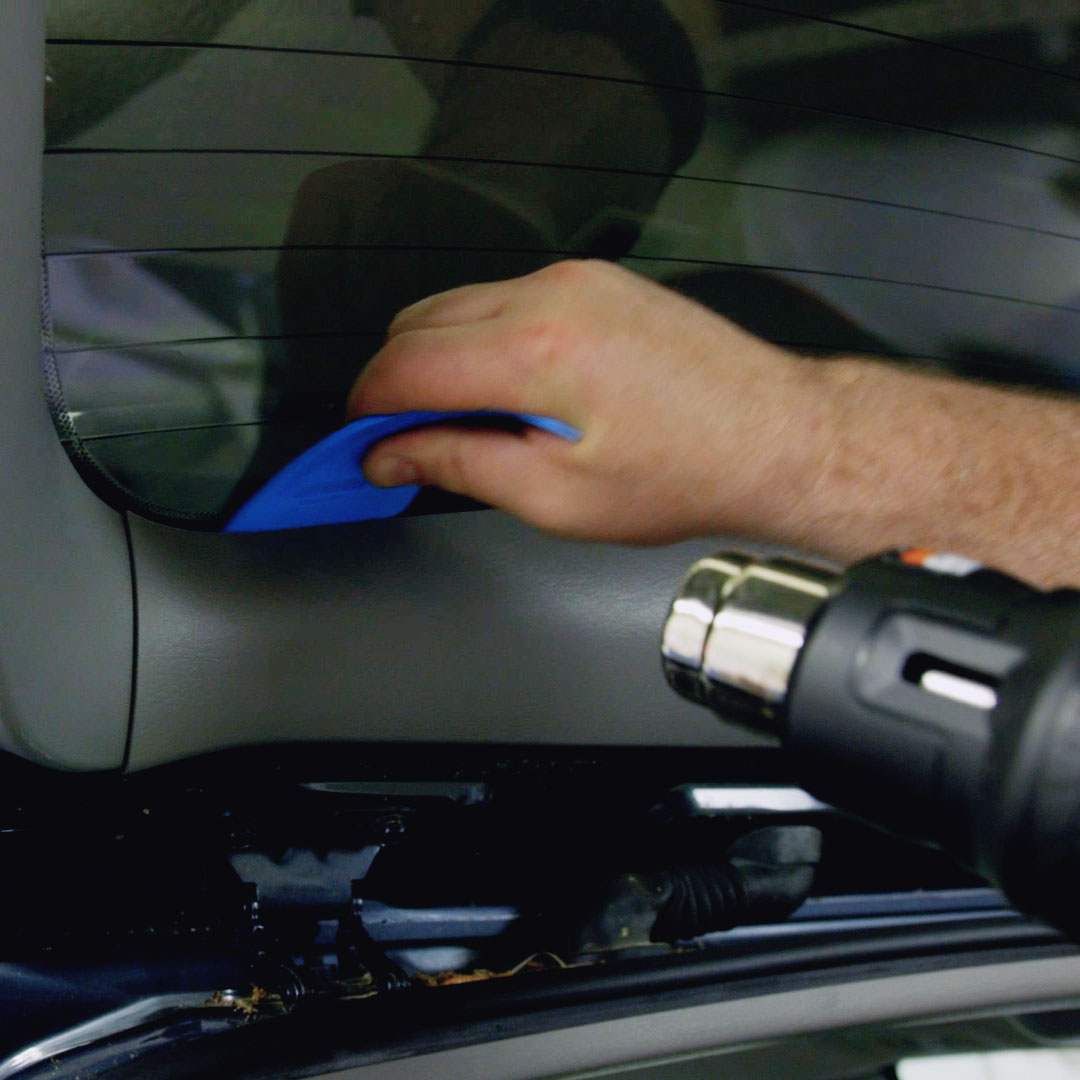
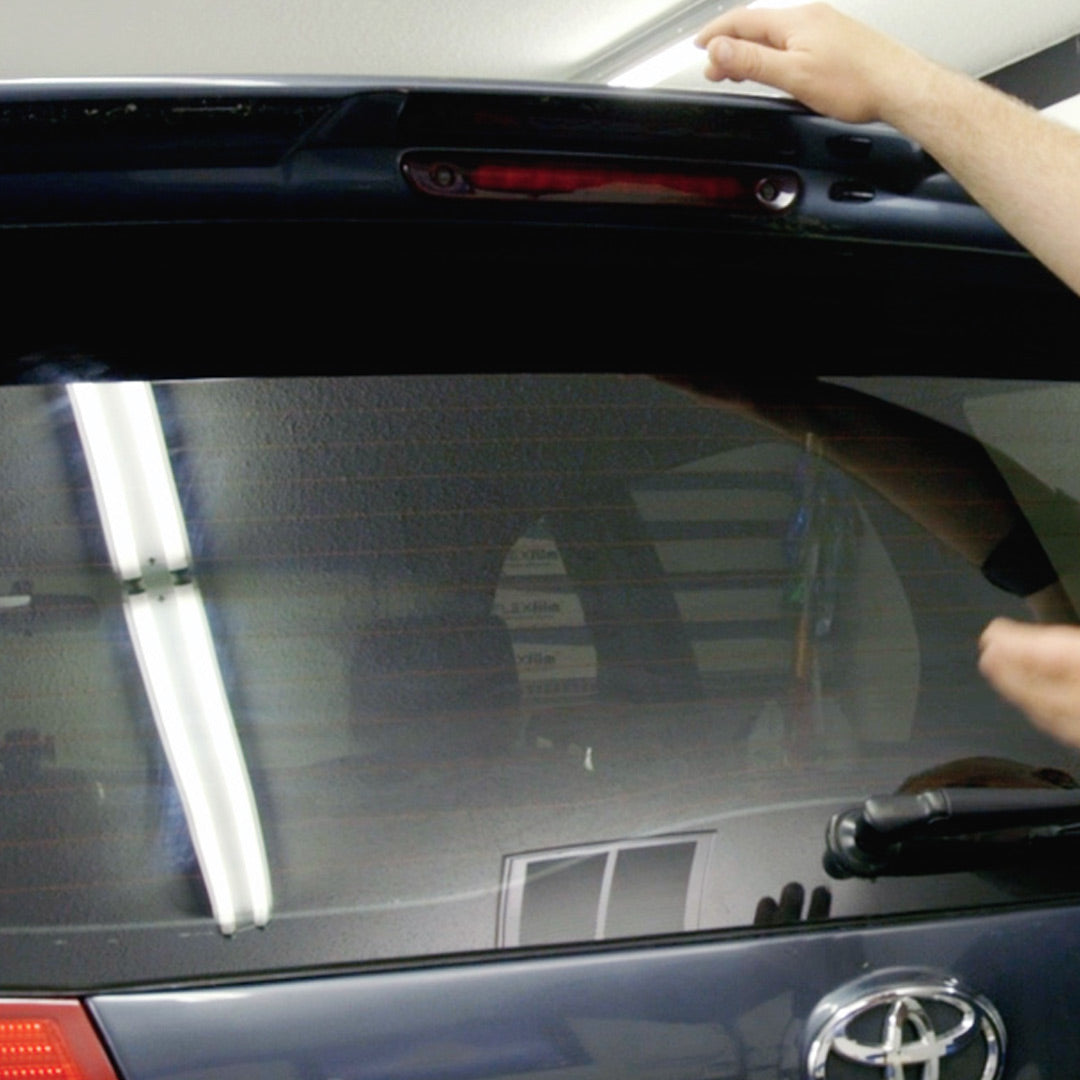
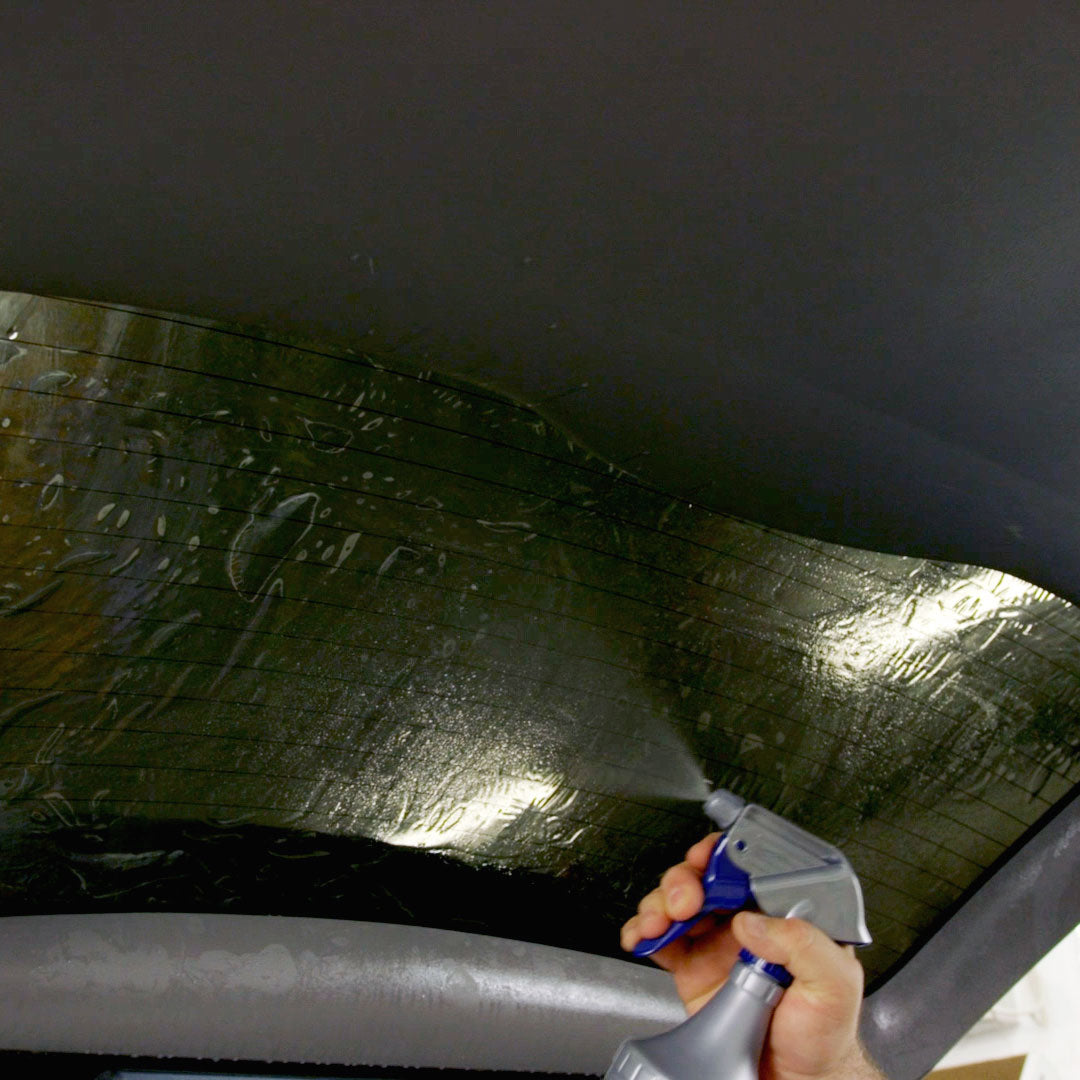

Automotive Window Tint
Pre-cut Pattern Installation
Required Tools
Pre-installation Checklist
Mixing Your Slip Solution

-
1
Clean The Window
Thoroughly clean the inside and outside of the windows you plan to tint to ensure they are free of dirt, dust, and any debris. Use a glass cleaner or a mixture of vinegar and water, along with a lint-free cloth or paper towels, to achieve a clean surface.

-
2
Prepare The Pre-cut Pattern
Unroll the pre-cut pattern and inspect it for any defects or damage. If you notice any issues, contact us for a replacement. Keep the pre-cut pattern flat and avoid creasing it. Do not installed a damaged pre-cut pattern or you will void your ability to get a replacement.

-
3
Lay Patterns On Windows
Mist the outside of the window with slip solution. Place the pre-cut pattern on the glass with the release linerfacing towards you, ensuring proper alignment. Use a squeegee to remove any liquid present, which will assist insmoothing out and flattening the pre-cut pattern. Be careful to not crease the pre-cut pattern as you smooth it out.

-
4
Use A Heat Gun To Heat Shrink
Using a heat gun set to 950°F, direct the heat from a distance of 4 inches toward the pre-cut pattern to begin the pre-shrinking process that molds the tint to the curve of the window and helps prevent bubbles. Warning: Avoid holding the heat gun in one spot for more than a few seconds.

-
5
Spray The Window's Interior
Mist the inside of the window with the soapy water solution. This will create a slippery surface and prevent the tint from sticking prematurely.

-
6
Peel Off The Protective Liner
Carefully peel off the protective backing from the pre-cut pattern. Start from one corner and gradually remove the backing while keeping the film as flat as possible. Tip: If you're struggling to peel off the liner from the window pre-cut pattern, stick a small piece of blue tape on each side of the film at any corner. Then, pull in the opposite direction from the tape to remove the protective liner from the tint.

-
7
Spray The Pre-cut Pattern
Spray slip solution generously to the adhesive side of the pre-cut pattern.

-
8
Align & Apply
Align the pre-cut pre-cut pattern with the corresponding window and place it against the wet glass. Make sure to position it accurately, covering the entire window area. The soapy water solution will allow you to slide and adjust the film as needed.

-
9
Spray The Tint
After aligning your window pre-cut pattern, generously spray tint solution onto the tint. This will create a lubricating layer, enabling the squeegee to glide smoothly across the surface. By doing so, you can minimize the risk of scratches and imperfections before proceeding with the squeegee.

-
10
Smooth Out The Film
Using a squeegee or a plastic card, starting from the center and working towards the edges, press the film against the window and remove any air bubbles or excess water. Use firm, but gentle, strokes to avoid damaging the film.

-
11
Use A Heat Gun
Using a heat gun set to 950°F, direct the heat from a distance of 4 inches toward the installed pre-cut tint to aid the glue in adhering (curing) to the glass. Warning: Avoid holding the heat gun in one spot for more than a few seconds.

-
12
Clean Up
Inspect the tinted window for any remaining air bubbles or imperfections. If you notice any, gently lift the pre-cut pattern with a squeegee or plastic card to smooth them out.

-
13
Done
Congratulations! You have now installed a pre-cut tint pattern. Repeat the steps for additional windows. Depending on weather conditions in your area, the film could take several days to cure to the glass. Leave the vehicle parked in direct sunlight to speed up the curing process.
Need Help?
If you still need assistance, please contact us at installation@tintclub.com or (770) 559-5283.
Curing & Cure Instructions
- Depending on weather conditions in your area, the film could take several days to cure to the glass.
- Leave the vehicle parked in direct sunlight to speed up the curing process.
- Do not roll down filmed windows for a period of five (5) days until the film has properly adhered to the glass.
- Do not wash the film for seven (7) days after installation.
- Do not use abrasive cleaners or coarse cloths.
- Use a mild soap and clean, soft cloth or synthetic sponge.